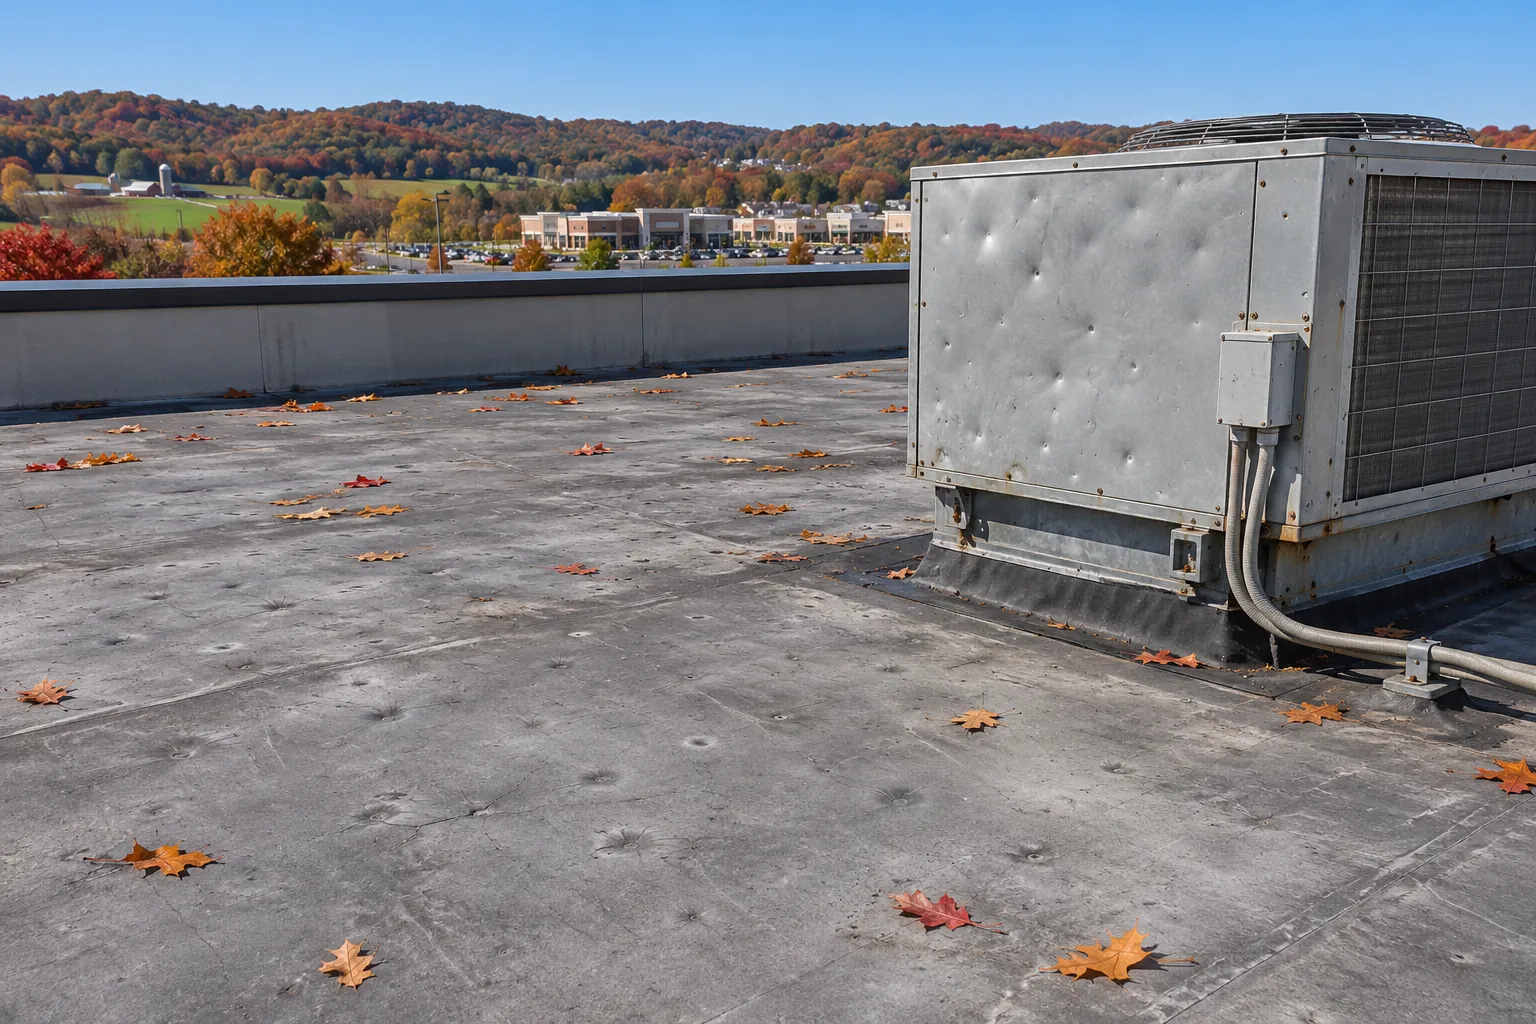
Temporary Patch
- Timing
- During rain or right after a storm
- Materials
- Wet-surface mastic, tarps, roof cement
- Surface prep
- Quick wipe-down
- Role
- Holds until the next visit
- Wet insulation
- Left for the permanent fix

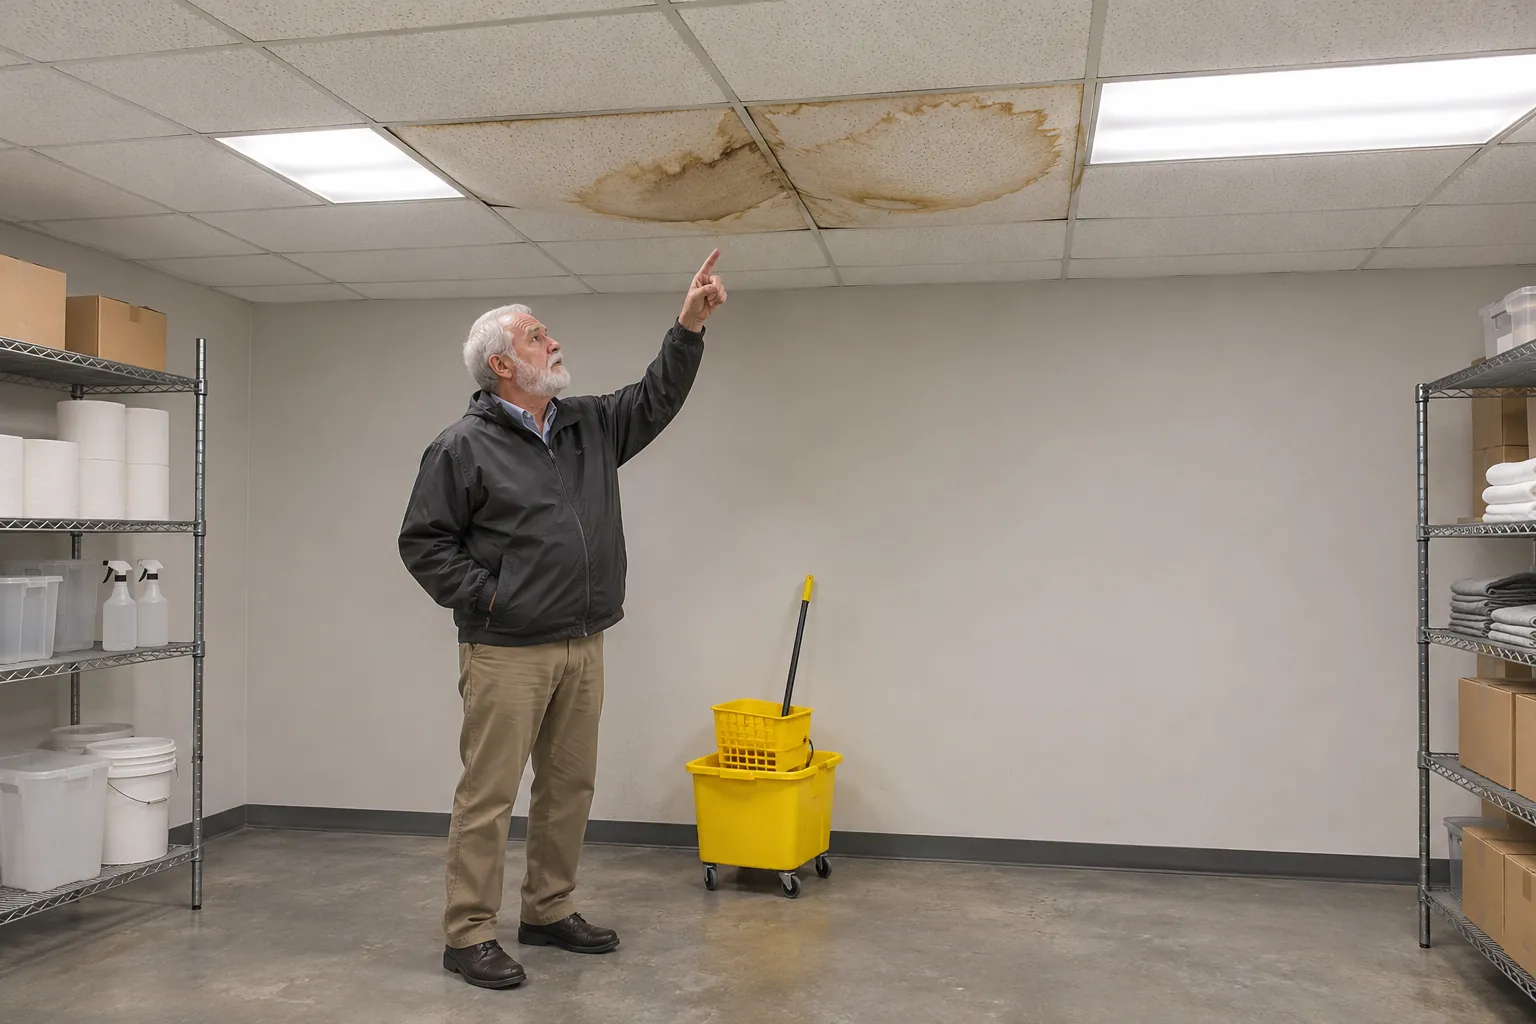
For Independence commercial roof leak repair, we trace water from the ceiling stain uphill to the seam, curb, drain, or fastener that let it in.
Independence commercial roof leak repair often happens in two stages. A quick patch slows water during rain, and the lasting repair waits for a dry roof.
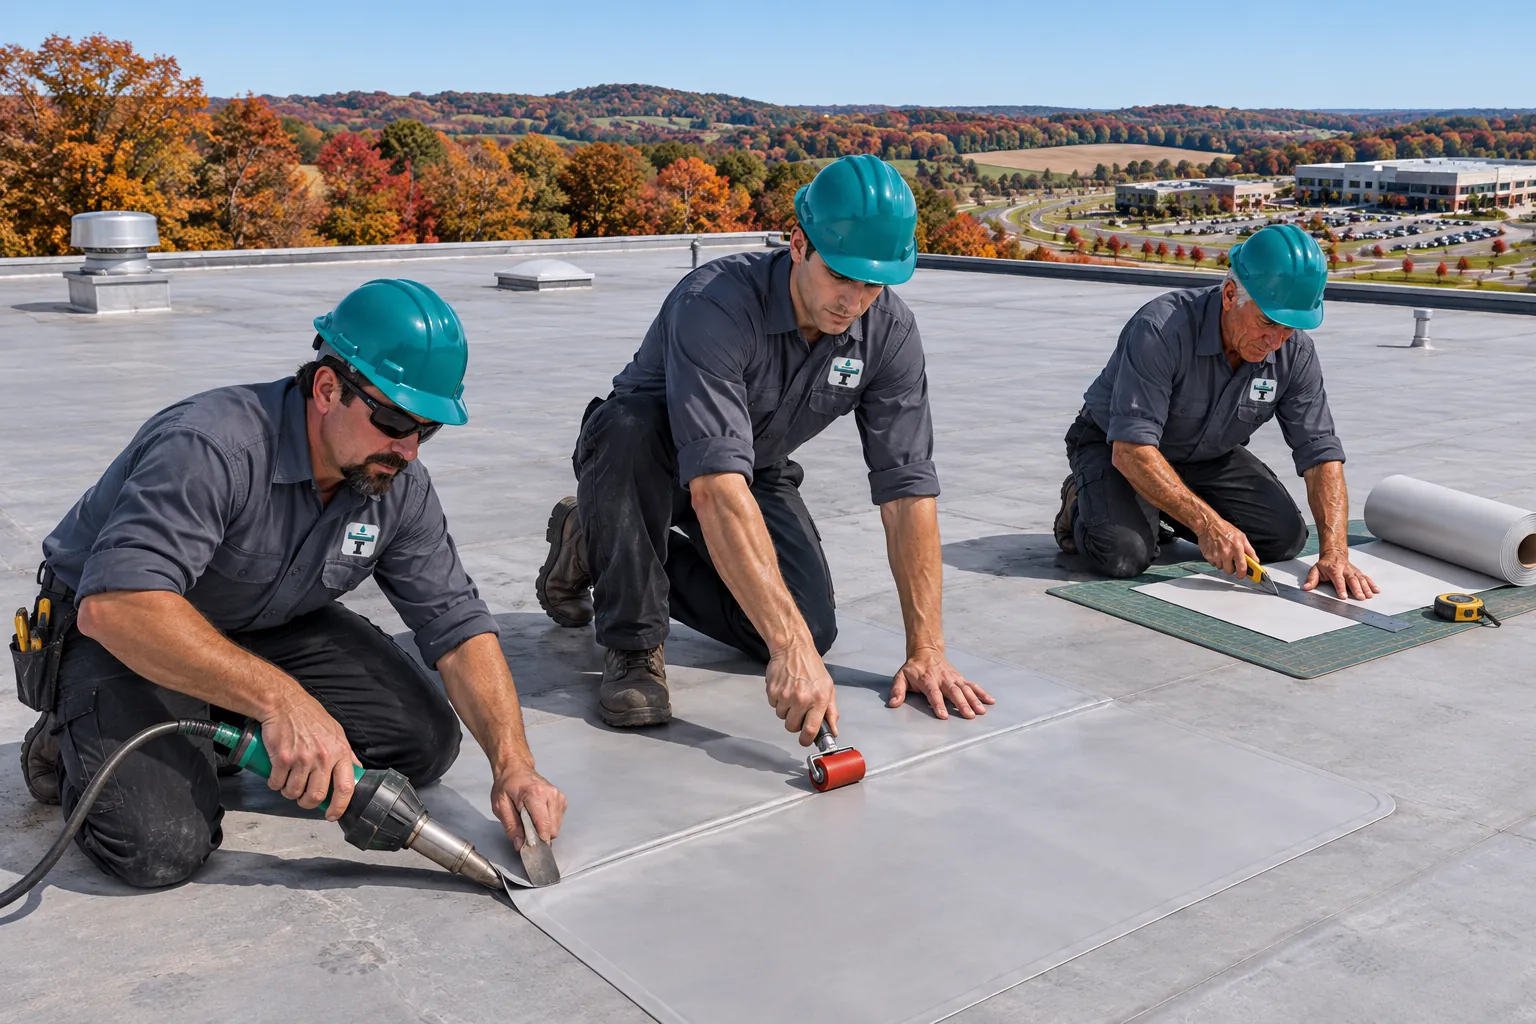
Where you notice the water and where it enters are usually two different spots, so every clue helps.
Leak repairs are chosen after the source is confirmed, so the fix lands on the part that failed.

Opened laps on TPO and PVC are rewelded, EPDM laps are retaped, and metal end laps are resealed with butyl tape and stitch screws. Nearby seams of the same age get probed during the same visit.
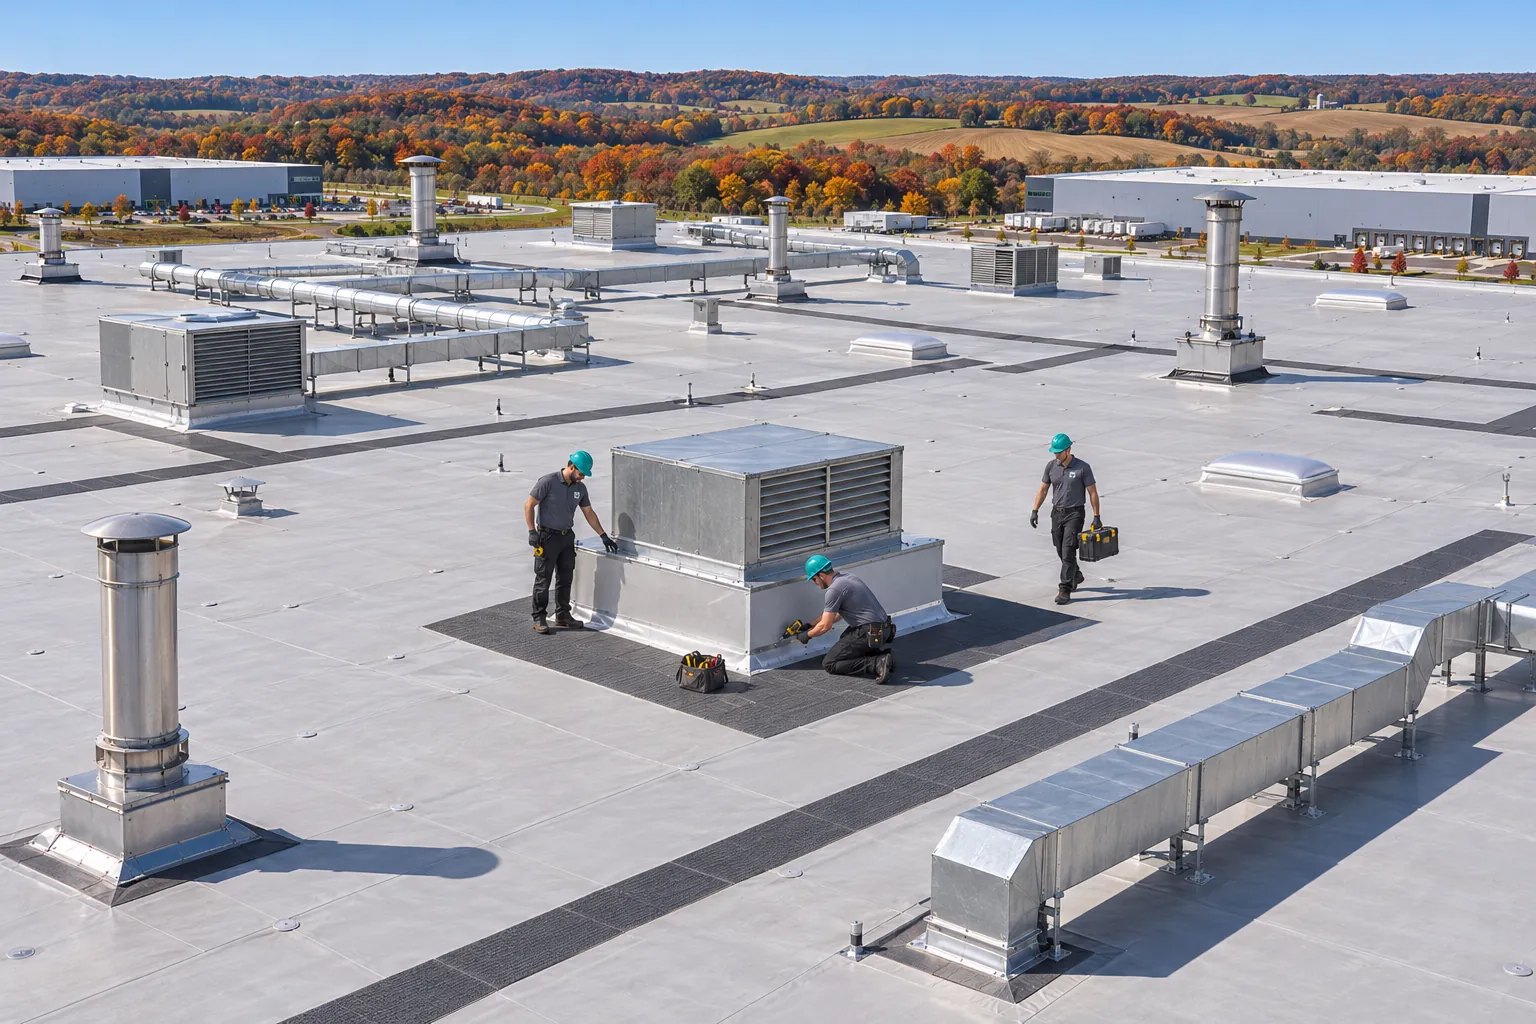
Short or split curb flashing is replaced, a cricket is added on the upslope side so water stops pooling against the curb, and loose cabinet screws are reported to your HVAC contractor.
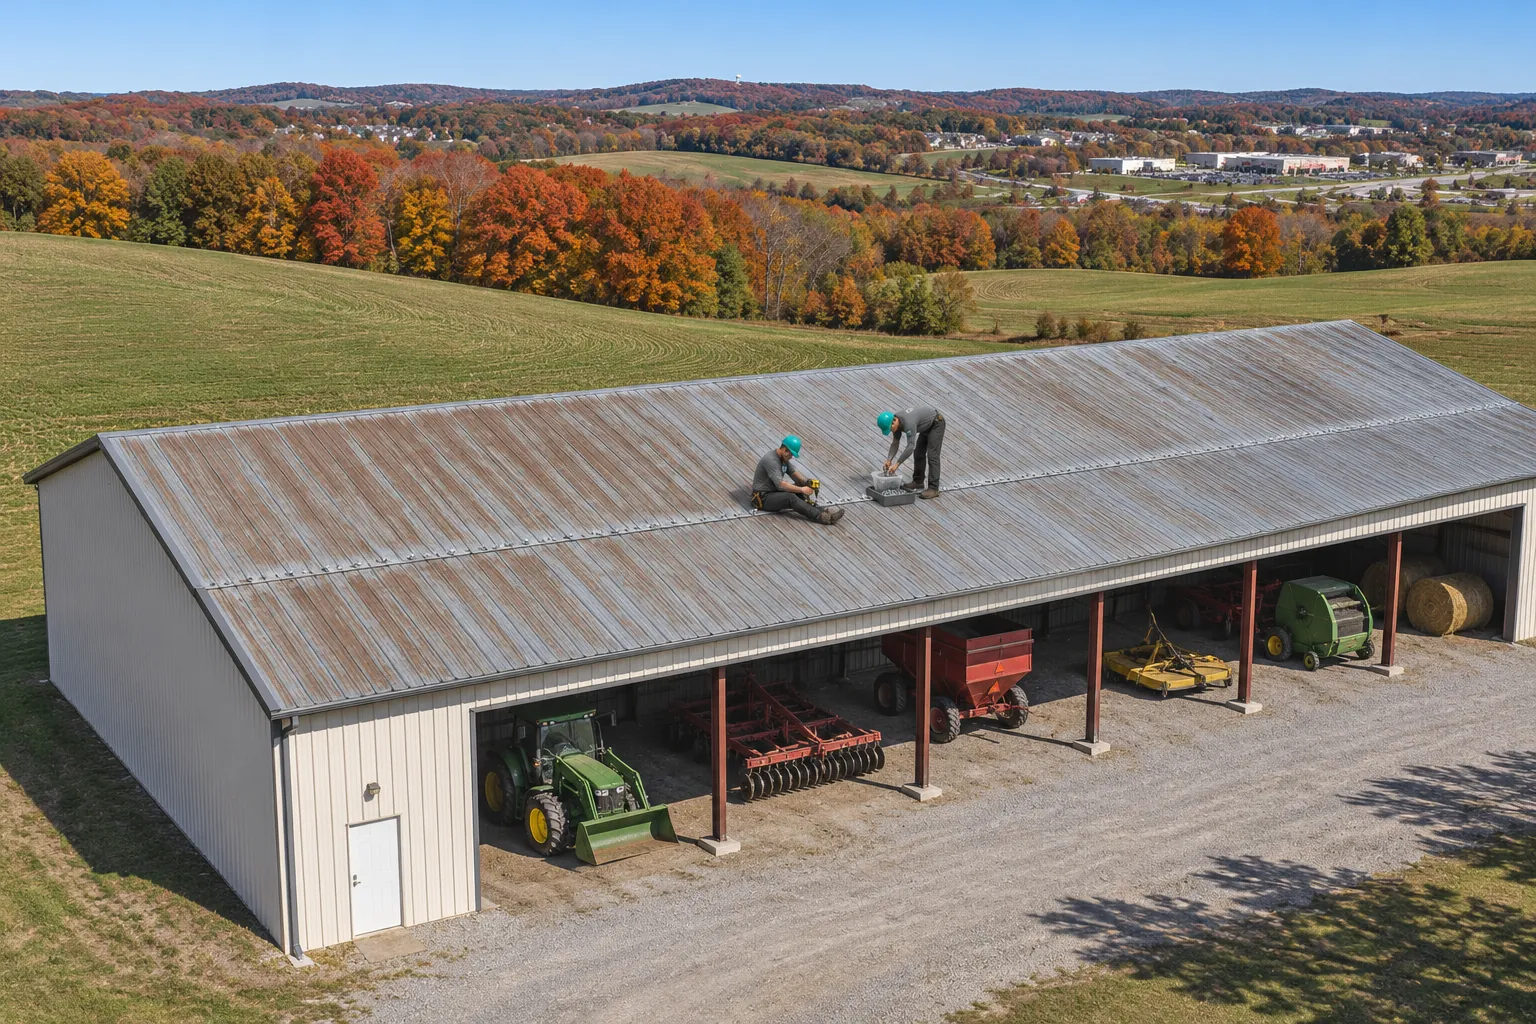
Shrunken or hollow pitch pans are topped off with fresh sealer or replaced with a pre-formed boot. Structural steel through the roof often gets a small curb instead, which holds up better than a pan.
Clamping rings are reset on drains, edge metal is refastened and stripped in, and coping joints along parapets are resealed where wind-driven rain gets behind them.
Fixing the confirmed entry point protects the building today and keeps the rest of the roof working.
| What You Weigh | Repair | Tear-Off And Replacement |
|---|---|---|
| Interior damage | Stops water at the source before ceilings and stock suffer more | Months of planning while leaks continue |
| Wet insulation | Soaked boards near the entry point are replaced | All insulation replaced, wet or dry |
| Cost control | Pay for the parts that failed | Pay for the entire roof area |
| Repair history | Each traced leak goes on record with photos | History restarts with the new roof |
| When to switch | Leaks stay fixed once the source is repaired | Leaks keep moving and wet insulation spreads |
Put a bucket under it, photograph the stain, and note the nearest column or wall. Then call us so a temporary patch can go on while the roof is wet.
Leak tracing works uphill from the drip, one suspect spot at a time.
The interior drip is marked and measured to the nearest wall or column, then the same spot is found on the roof and the walk heads upslope from there.
Seams, flashing, curbs, pitch pans, and fasteners along that upslope line are inspected for open laps, splits, and lifted edges.
Each suspect spot is wet down on its own, low to high, while someone watches inside, so the test proves which detail leaks.
A moisture meter or a small core cut shows how far water spread. If a leak resists pinpointing, an infrared scan at dusk maps the wet areas.
Wet boards are replaced, the failed detail is repaired with matching material, and photos of both go into your roof history.
Once the entry point is known, the repair belongs to one of these roof types.
Leaks traced to a TPO seam, EPDM tape edge, or a cracked blister on built-up roofing are fixed with a matching membrane patch.
Flat roof repairDrips under a fastener row, end lap, or skylight panel lead to new screws, butyl tape, or a same-profile panel.
Commercial metal roof repairWater over production lines gets a roof-side dry-in first, then a repair scheduled around shifts and lockouts.
Industrial roof repairWe work uphill from the stain, because water often enters several feet from where it drips. The drip is measured to a wall or column, located on the roof, and followed upslope past seams, flashing, curbs, and fasteners. Suspects are water-tested low to high, and a moisture meter or core cut confirms wet insulation.
TPO and PVC leak at seam laps, T-joints, curb corners, and edge metal. EPDM leaks at seam tape edges, pipe boots, and where shrinkage pulls the sheet at the wall base. Modified bitumen leaks at blisters, split laps, and parapet flashing, built-up gravel at pitch pans and gravel stops, and metal at fasteners, end laps, ridge caps, and skylight panels.
Three things leak at a rooftop unit: the curb flashing, the unit's own cabinet panels, and its condensate lines. Short or split curb flashing, missing cabinet screws, dripping or backed-up condensate, and a missing cricket on the upslope side all send water in.
A joint visit with your HVAC technician sorts out whether the roof or the unit owns the leak.
It is a metal collar filled with pourable sealer around an odd-shaped penetration where a standard boot will not fit. Sealer shrinks away from the pipe, old fill cracks and holds water, and flanges lift as the roof moves. Repairs range from topping off the sealer to swapping the pan for a pre-formed boot or a small curb.
Partly. A temporary patch of wet-surface mastic or a tarp can slow or stop water during rain, but the permanent repair needs a clean, dry surface so matching membrane, welds, tape, or new panels hold. Any wet insulation under the temporary patch is cut out during the permanent fix.
Yes, when you can do it safely. Move stock and equipment out from under the drip, set a bucket or catch basin, and photograph the stain and its nearest column. Those photos and the time the leak started help us trace it once we are on the roof.
Tell us when the leak shows up, during rain, snowmelt, or wind from one side, and send a photo of the stain. We will trace it and price the repair.
Want a call back about your roof?
Or call us now: +1 (513) 775-5303